Almost all owners of the private houses have a cellar. It allows you to keep the homemade preparations fresh and can be used as a storage for the necessary (and unnecessary) things. Moreover, it helps to clear the space in the living room. As a rule, the descent to the cellar is provided by the staircase. You can buy it and entrust its installation to the professionals or make and install it yourself. DIY cellar stairs.
But before starting to turn the bolts, you should decide what the final product will be like.
There are two types of cellar stairs:
- Step ladder – this is a standard mobile ladder, which can be attached or removed. As a rule, it is used in the rooms with a very small area. Moving on it is difficult and not safe. Such staircase can be made of wood or metal. Even the beginner can easily build it. For assembly, you will need two long beams, interconnected by transverse strips.
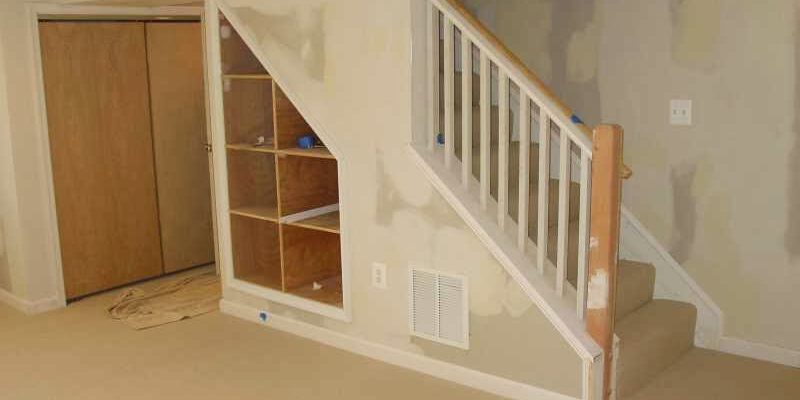
- Flight stairs- they look like access stairs. It is better to make such structures at the time of building a house, but if desired, you can install it in the finished room.
Let’s consider the installation requirements (the latter make sense only when creating a flight staircase):
- For comfortable and safe movement on the stairs, its width should be at least 70 cm, while the handrails must be installed from the open sides, where there is no wall.
- The slope shouldn’t exceed 75 degrees. If this slope angle doesn’t fit the dimensions of the room, it is better to refuse from the flight of stairs and consider a step ladder.
- The steps should be no higher than 22 cm, while their width should vary between 25 and 35 cm. Violation of these parameters will make the object traumatic.
Don’t forget that the basement has its own microclimate. The high humidity typical for such premises destroys untreated or poorly prepared material. Wood products must be thoroughly coated with paint or varnish (but previously, you should treat them with an antiseptic).
Selection and preparation of materials:
Wooden stairs
When choosing wood, you should remember about the high humidity of the basement. Therefore, before assembling the staircase, the wood should be properly processed:
- Impregnate the wood with a special antiseptic composition to protect it from mosses, lichens or insects.
- Apply a glazing agent or paint. This will strengthen the antiseptic effect.
The benefits of wood include its simplicity and economy.
Metal stairs
To assemble such structure, you will need a welding machine and a person who knows how to use it. Metal staircase will last longer but cost more. Besides, not everyone can assemble it on their own (in contrast to the previous version). Like wood, metal requires specific treatment:
- If the metal is not brand-new but taken from the neighbor’s garage, the first thing you should do is to clean corrosion.
- Treat the material with anti-corrosion agents.
- Paint it.
Concrete or brick stairs
This is a solid and monumental option that will last for many years. The production of such stairs requires a lot of efforts and money, as well as the skills of working with concrete or brick. Such staircase doesn’t require additional treatment; it is enough to paint it, and then varnish or face it with decorative tiles.
cellar stairs
Building of a wooden staircase:
Let’s assume that you want to build a staircase with a height of 2.4 m. Choose the width of the structure and the distance between steps. A comfortable step height will be about 0.3 m.
And now some math: 2.4 (lifting height) / 0.3 (intended step) -1 (the first step is not put, as this will be the floor) = 7.
Thus, we will need the following materials:
- 2 tough boards with a length of 2.4 m, which will serve as side supports for the future stairs. The thickness of the vertical beams must be at least 10×15 cm. Otherwise, the stairs will not be safe.
- 7 boards with the length, determined by the desired width of the flight.
- Screws (5х100 mm) for wood.
- Tools: tape measure, screwdriver, sandpaper, level, and materials for wood treatment, which were mentioned above.
It is very easy to calculate the length of transverse strips: take the width of vertical support (in our case, it is 10 cm) * 2 (supports are placed on both sides) + desired flight width.
It turns out that with a flight of 0.6 m, you will need 80-cm long transverse supports.
Assembly:
Put the vertical supports on a flat surface (you can check it with a level), apply the upper bar, and then, using a tape measure and a marker, outline the attachment sites of the transverse bars. After that, each transverse support should be fixed to vertical beams with two screws on each side (in total, four screws per step).

flight stairs
Building of the flight stairs
Since the work with metal, concrete or brick requires specific skills, we will only consider the instructions for creating a wooden structure.
Input data: Height of ceiling and length of flight. Knowing the height of the ceiling and the length of the entire flight of stairs, you can calculate the flight of the step and the angle of inclination.
Let’s assume that we have a staircase height of 2 m, a slope of 30 degrees, a step height of 22 cm and a flight of 80 cm.
To assemble the stairs, you will need:
- Boards for support (WxDxH- 0.1х0.15х2.0 m) – 2 pcs.
- Boards that act as steps (0.06х0.2х0.8 m) – 6 pcs.
- Wooden parts (0.05×0.05×0.15 m) to strengthen the steps – 12 pcs.
- Nails or screws (100 mm)
Assembly:
Wooden bars (21 pcs) are screwed to the support. Then they will support the steps of the stairs. Please note such part must be installed at an angle of 60 degrees, so that after installing the stairs at a slope of 30 degrees, the steps are in the correct position. The bars must be fixed with two or three self-tapping screws
The finished support is mounted in a pre-selected place, after which the steps are laid on the bars. Ready steps should be fixed to the support and bars with nails or bolts.
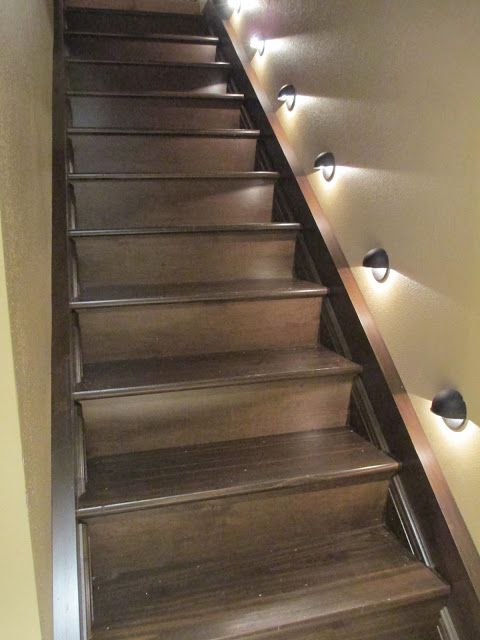
For safety, it is advisable to equip the finished staircase with the railing.